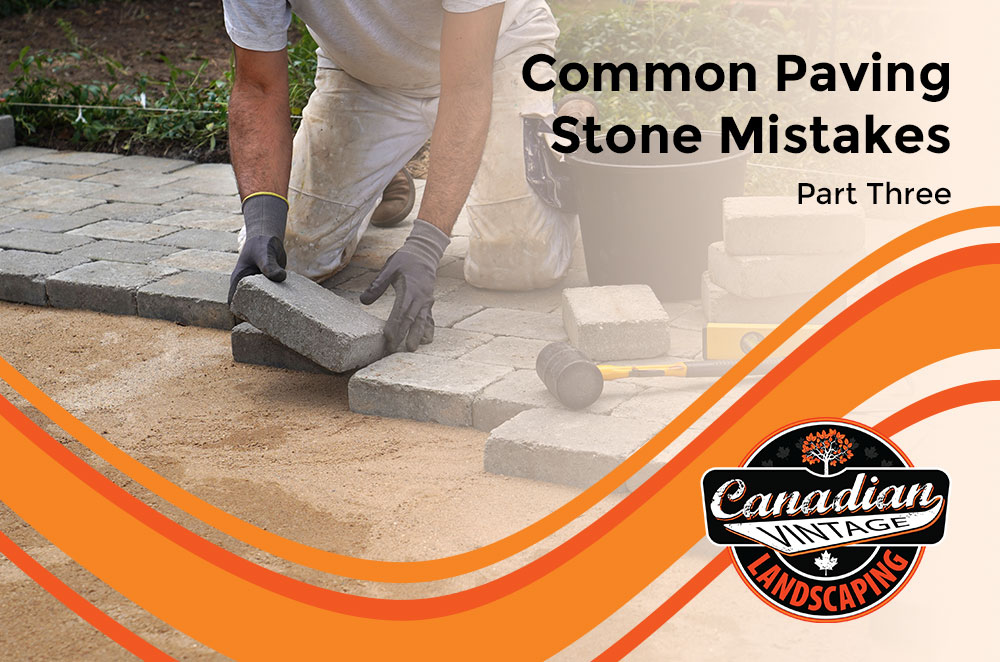
Instead of concentrating on laying the pattern of stones, focus on building a properly compacted substrate that is deep enough to carry the load that will be on top. If you do that, your carefully laid pattern will remain as beautiful as when it was first laid.
If erosion or settling is causing problems, solve the problem causing the erosion first, like redirecting rain gutter downspouts. Sometimes you need to lift stones near the house or create a series of slopes that direct the water away from your property and towards the street.
Have a clear plan as to how the pattern of paving stone goes back together – this is especially important for all the cut or trimmed stones on edges. Pull the stones out one by one and set them aside in the same pattern, stacking stones leads to never getting them back in the same pattern.
If it’s a really deep problem, shovel off the sand, put in more road gravel and make sure you compact the area. In a small area, you can use a four by four with a plywood plate. You should have an inch or so of sand on the top for shaping and leveling – use a long straight two by four to check the slope, even use it as an oversized scraper to shape the sand. Compact and check again until you have exactly the landscaping shape you need.
When you place the stones back, you can make them tighter or looser but a small change between stones makes a lot of difference further down the pattern. After everything is set into place and the slopes are perfect, sweep in the filler sand. Pound again with the tamping rod to shake the sand into filling the cracks, sweep at an angle to the cracks to push sand into the cracks but don’t have the broom dig it out though.


