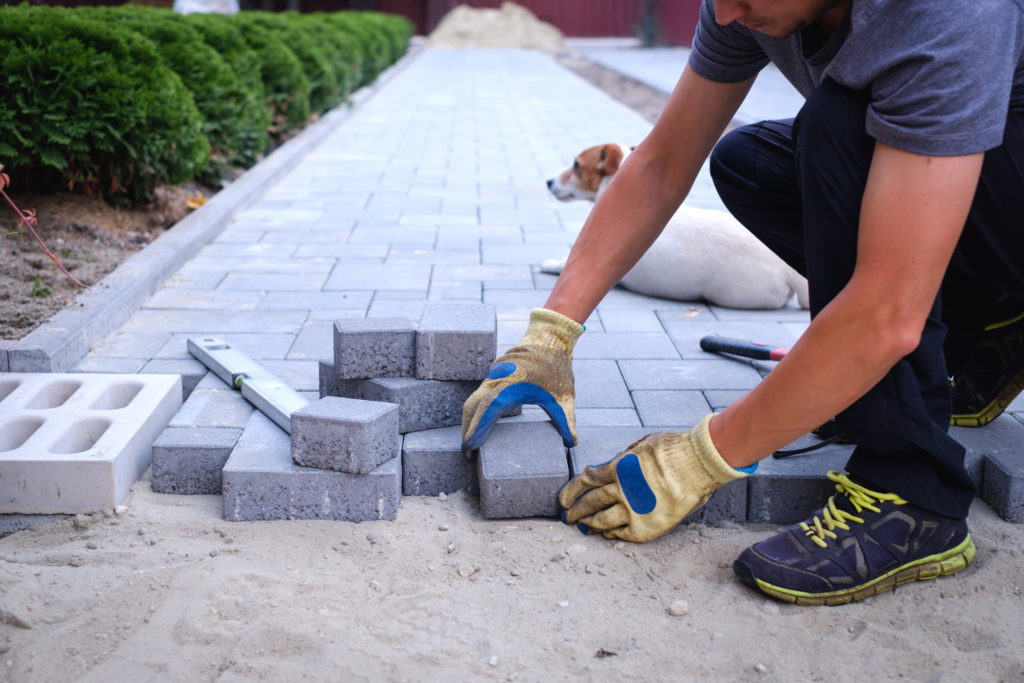
You may not realize it but there’s a lot to using paving stones or pavers. Like most things that are worthwhile in life, they have layers and each layer requires different materials and has different purposes.
The first step is to create a base layer with gravel or road base. You need enough recycled road base to create a layer at least 50 millimetres thick. At the same time, creating the necessary level, sloping the new surface away from the house and surrounding houses – the correct amount of slope is around 20 millimetres of drop per meter length. This process can take time but is important to be done correctly because this was the level that everything would reference off and is hard to change once compacted.
The second step is to compact the base layer. Once achieving the perfect level, time to start compacting. Lightly spray down the road base with water to trap the dust and bind it with the stones then go over the whole area with the compactor, repeating this step five times, watering between each. By the end of it, once the water dries, you’re left with an incredibly hard and solid surface.
The third step is to add bedding sand. Then it was onto the bedding sand. under the pavers you could use electrical conduit, but I have a project in mind for this timber so it was less waste. The job of bedding sand is to give the pavers a solid flat surface to sit on while still allowing for minor adjustments. A good way to get a consistent 20 millimetres of sand is to use timber to drag across each section.
The fourth step is to lay the paving stones. It takes time to work out the best way to drop a pavers into place without angling it on the way down – it needs to land on the sand completely flat. You may need to pull the paver up and try again, which slows the process down quite a bit.
The fifth step is to lay the bigger paving stones. Place all full pavers first and save all the cuts for the end when you have set all the full pavers in place.
To be continued in Part Two…


